
Introduction
We’ve put together a fantastic gaming system for just $800. We’ve carefully chosen parts that will get you the best performance in this price range without sacrificing quality! We always recommend parts that not only provide you with optimal performance but also outstanding reliability. Remember, it’s not worth saving $5 on a part if it dies after just 6 months and you have to pay again to replace it!
In this article we’ll provide you with the parts list that will construct a formidable gaming PC which has been optimized for the $800 price range.
We’ll also touch on optional extras and give a run-down on the upgradability of the recommended hardware, so you’re all set for now as well as the future.
If you’re interested in this gaming build, be sure to read our commentary on the individual parts below and why we think each of these is a good fit in this build.
Parts List
Last Updated: November 2018
Auto Amazon Links: No products found. http_request_failed: A valid URL was not provided. URL: https://ws-na.amazon-adsystem.com/widgets/q?SearchIndex=All&multipageStart=0&multipageCount=20&Operation=GetResults&Keywords=B01IPVSLTC&InstanceId=0&TemplateId=MobileSearchResults&ServiceVersion=20070822&MarketPlace=US Cache: AAL_079919a65e83d143b358665b294c7092
Auto Amazon Links: No products found. http_request_failed: A valid URL was not provided. URL: https://ws-na.amazon-adsystem.com/widgets/q?SearchIndex=All&multipageStart=0&multipageCount=20&Operation=GetResults&Keywords=B0759FGJ3Q&InstanceId=0&TemplateId=MobileSearchResults&ServiceVersion=20070822&MarketPlace=US Cache: AAL_54da90c24213dd9fa7dedaa846dfcf65
Auto Amazon Links: No products found. http_request_failed: A valid URL was not provided. URL: https://ws-na.amazon-adsystem.com/widgets/q?SearchIndex=All&multipageStart=0&multipageCount=20&Operation=GetResults&Keywords=B01ARHBBPS&InstanceId=0&TemplateId=MobileSearchResults&ServiceVersion=20070822&MarketPlace=US Cache: AAL_bd09fa925510f9f905a49973fcff3f93
Auto Amazon Links: No products found. http_request_failed: A valid URL was not provided. URL: https://ws-na.amazon-adsystem.com/widgets/q?SearchIndex=All&multipageStart=0&multipageCount=20&Operation=GetResults&Keywords=B07BQ9SSH7&InstanceId=0&TemplateId=MobileSearchResults&ServiceVersion=20070822&MarketPlace=US Cache: AAL_8d3d75bdee7fa971a3d953981c3804fe
Auto Amazon Links: No products found. http_request_failed: A valid URL was not provided. URL: https://ws-na.amazon-adsystem.com/widgets/q?SearchIndex=All&multipageStart=0&multipageCount=20&Operation=GetResults&Keywords=B01N5IB20Q&InstanceId=0&TemplateId=MobileSearchResults&ServiceVersion=20070822&MarketPlace=US Cache: AAL_c68c8eadb4f545b20d7c2f05d54972fc
Auto Amazon Links: No products found. http_request_failed: A valid URL was not provided. URL: https://ws-na.amazon-adsystem.com/widgets/q?SearchIndex=All&multipageStart=0&multipageCount=20&Operation=GetResults&Keywords=B0088PUEPK&InstanceId=0&TemplateId=MobileSearchResults&ServiceVersion=20070822&MarketPlace=US Cache: AAL_c368eea93e7c69a1f0846c0cac125ad1
Auto Amazon Links: No products found. http_request_failed: A valid URL was not provided. URL: https://ws-na.amazon-adsystem.com/widgets/q?SearchIndex=All&multipageStart=0&multipageCount=20&Operation=GetResults&Keywords=B07146XXBH&InstanceId=0&TemplateId=MobileSearchResults&ServiceVersion=20070822&MarketPlace=US Cache: AAL_5c7fe6b36656d2dfe44a1631efb0d2bc
Auto Amazon Links: No products found. http_request_failed: A valid URL was not provided. URL: https://ws-na.amazon-adsystem.com/widgets/q?SearchIndex=All&multipageStart=0&multipageCount=20&Operation=GetResults&Keywords=B01LYRXRDI&InstanceId=0&TemplateId=MobileSearchResults&ServiceVersion=20070822&MarketPlace=US Cache: AAL_cc7c654ee79dc013521796fc328542b5
Part Details
Graphics Card
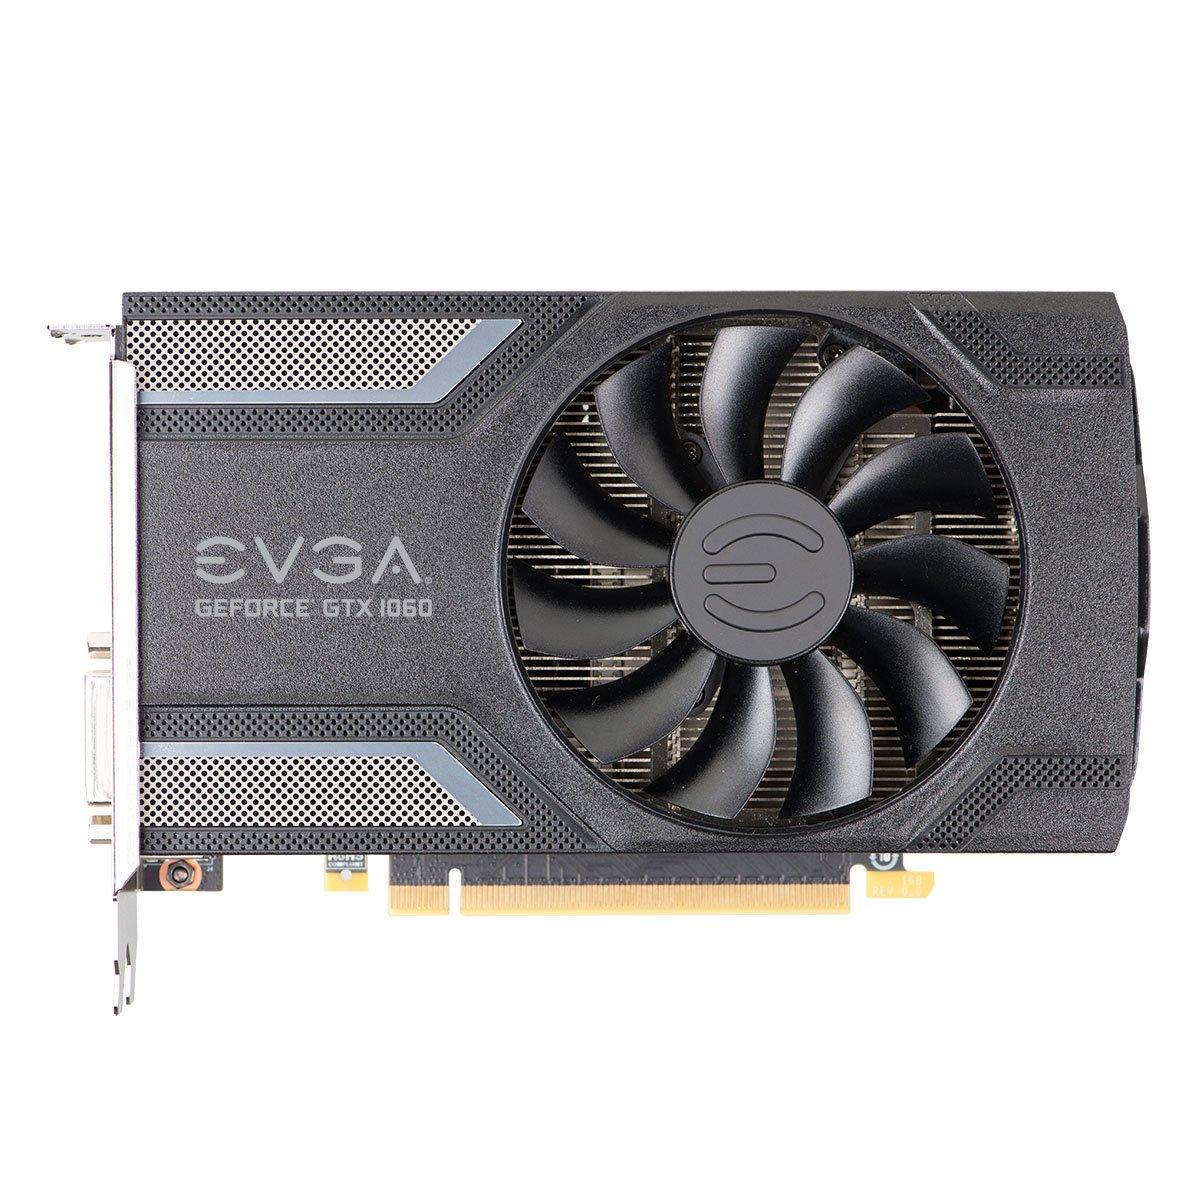
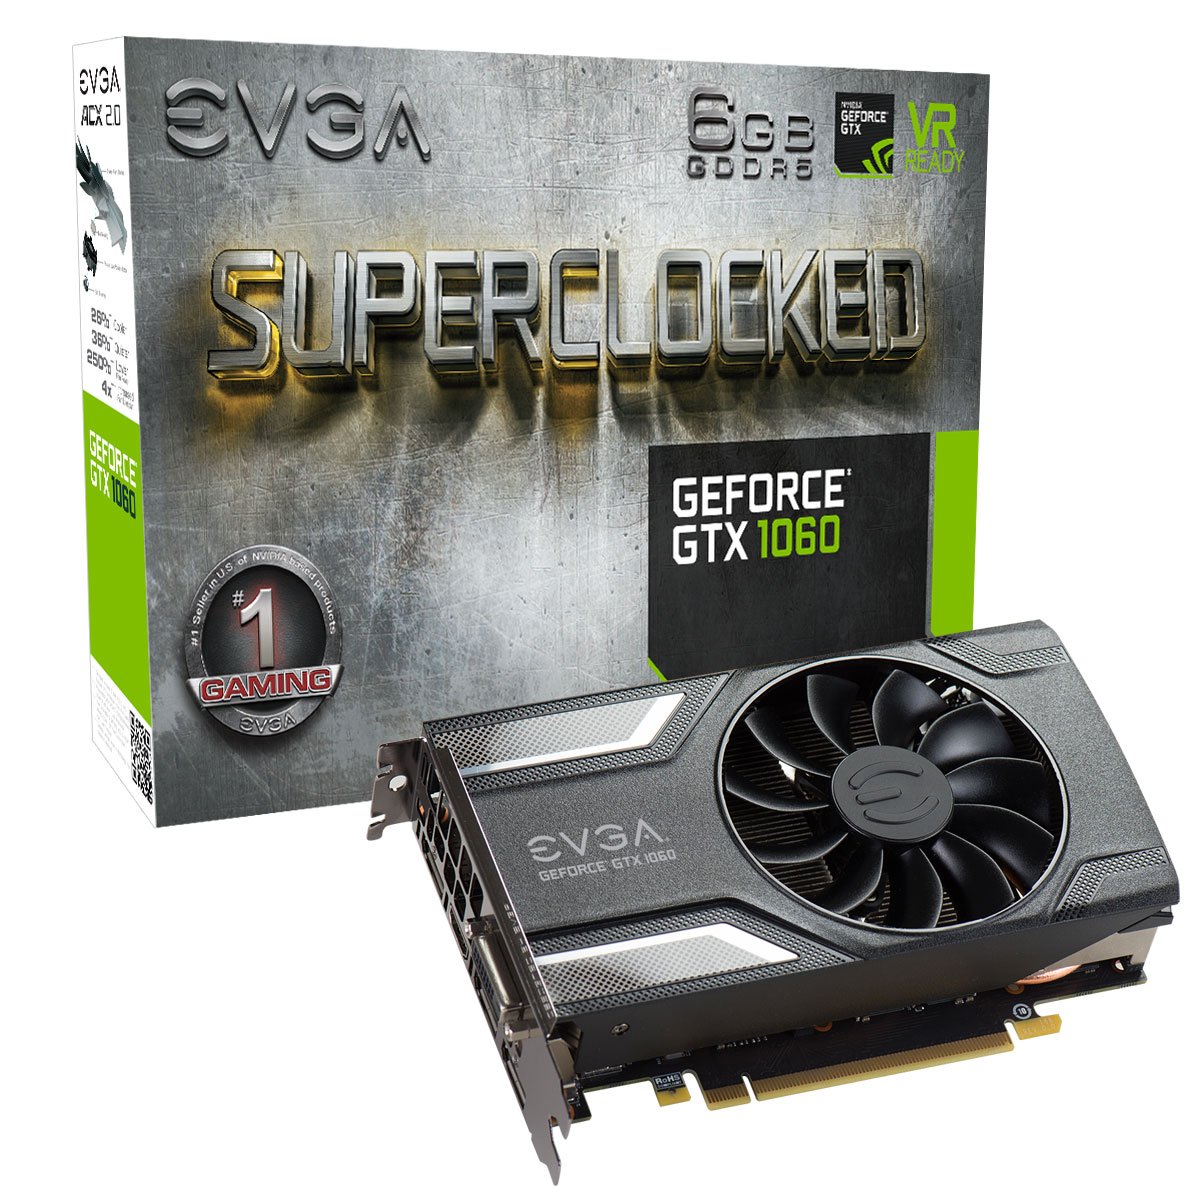
First up we have the core of this gaming build, the graphics card. We’ve decided to try to squeeze the best performing card we could with this budget, while still allowing enough change for a fast CPU and other quality hardware. That’s why we’ve chosen the EVGA GTX 1060 Superclocked Gaming ACX 2.0 graphics card, complete with 6GB of onboard video RAM for our $800 build. This card comes with EVGA’s custom ACX 2.0 cooling system which runs cooler, quieter and lasts longer than previous fans and competitor’s products. This card is the Superclocked version which means EVGA have slightly overclocked the core speeds for you. It’s also the larger 6GB memory version of the card (there is also a 3GB version available), and this larger frame buffer will allow you to play at higher resolutions, and use higher texture and anti-aliasing settings that a video card with lower memory.
Being part of Nvidia’s 10 series of graphics cards means it can take advantage of some excellent features including:
- Microsoft DirectX 12, Nvidia Gamestream, Nvidia G-Sync, Ansel in-game image capture, and more.
- 1607MHz Core (Boost Clock: 1835MHz)
- 6144MB GDDR5 8008MHz effective Memory
- Up to 4 monitors supported. Ports: DVI-D x 1, Display Port x 3, HDMI x 1
- 3 Year Warranty
CPU
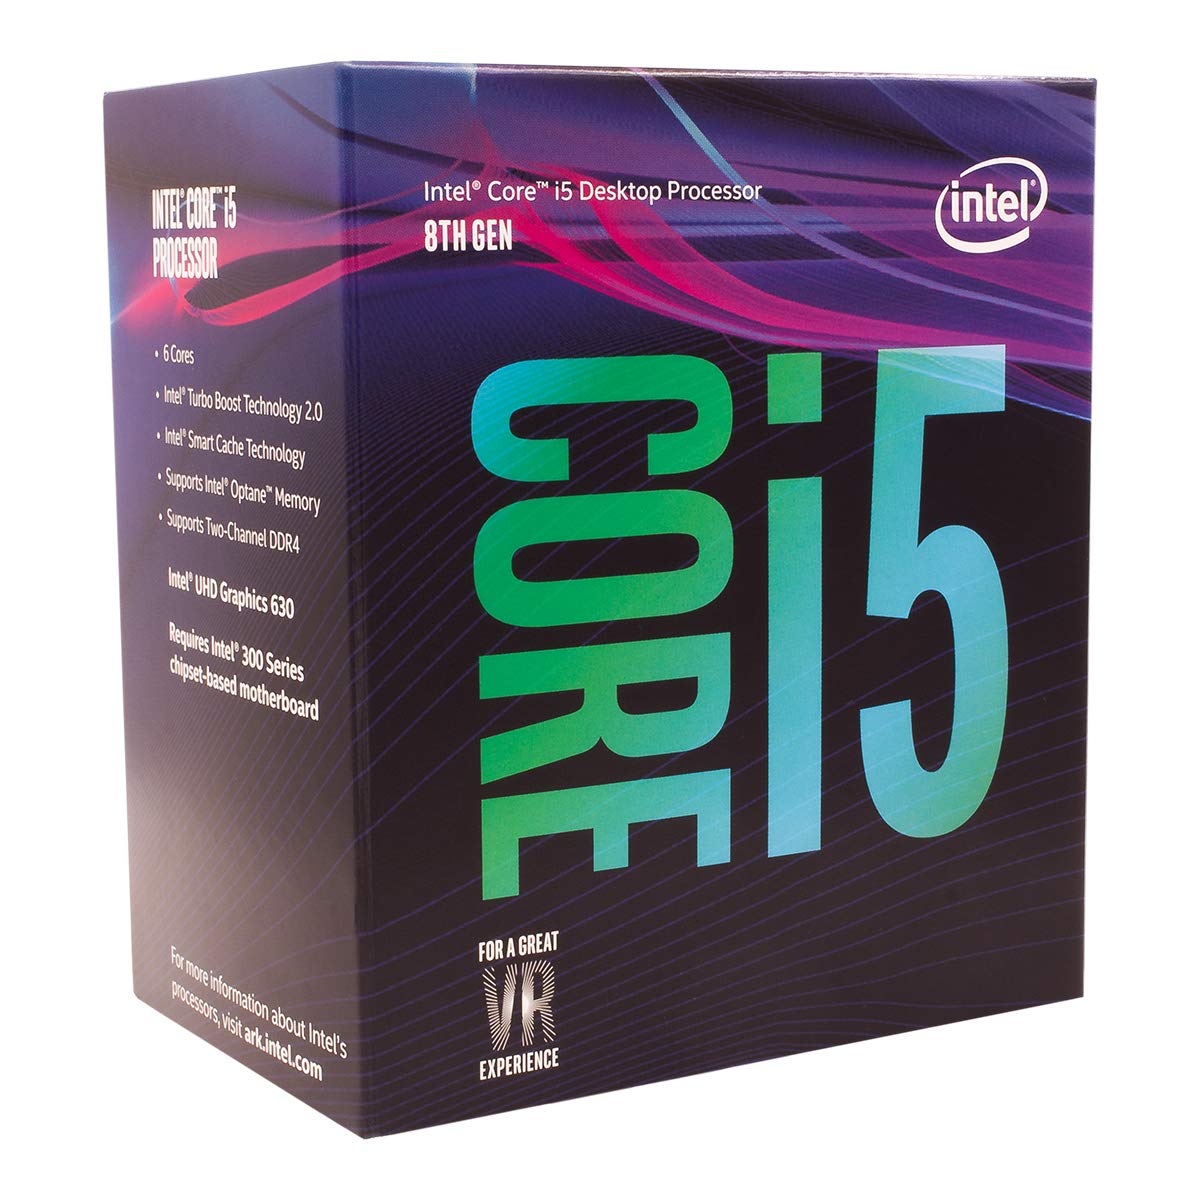
For this build, we’ve chosen the Intel i5-8400, which provides excellent performance for the money and is one of the best options for a gaming PC in this price range.
This is a six-core CPU based on the latest Coffee Lake architecture with a base speed of 2.8GHz and an Intel Turbo Boost speed of up to 4.0Ghz. The fast clock speed and 6 processing cores makes this CPU more than capable of serving the requests of modern games. These i5 processors are widely used by system builders for their performance and value for money.
- Six Cores with a good clock speed of 2.8GHz (4.0GHz boost).
- Launched in Q4 of 2017 so is recent 14nm technology.
- Excellent performance.
- Widely proven and trusted.
Memory
The motherboard we’ve gone with in this build only supports DDR4 RAM, so we’ve gone with the Corsair Vengence 1x8GB stick. The benefit of DDR4 is that you’ll get similar performance to DDR3 RAM but with a slightly lower power consumption, which also means less heat inside your case. DDR4 also offers a higher clock speed for a comparatively lower price.
- DDR4 standard – the latest development in PC memory using less power and generating less heat
- CAS latency of 14 (CL14)
- 2400MHz
- 8GB single stick
While the latency and speed of memory is not particularly important in a gaming build, it’s still nice to have some quality RAM installed. Installing a single 8GB stick instead of two 4GB sticks means you have room to install more memory later if you ever find you need it.
Motherboard
Again, this Motherboard is another popular choice as it offers decent features for a low price. It is a standard, mid-level model that is compatible with the latest 8th generation Coffee Lake CPUs. The Gigabyte B360M DS3H board is reliable, has a solid feature set and is excellent value.
Although it doesn’t support overclocking, this motherboard provides the basic connectivity you’ll need to support all of your components in this build and also has a super easy to use UEFI BIOS. In fact, it has two which means you have a backup BIOS if anything goes wrong with the first.
This motherboard also is complete with protection features for extra peace of mind such as on-board surge protection anti-sulfur corrosion resistance design, along with power saving functions like Fan Stop and single click power-saving, support for RGB LED strips, and more.
- LGA1151 socket
- Form factor: Micro ATX (22.6cm x 20.5cm)
- Chipset: Intel B360 Express
- Slots: 1x PCI-Express 3.0 x16 Slot, 1x PCI-Express 3.0 x4 Slot, 1x PCI-Express 3.0 x1 Slot
- SATA: 1x M.2 Connector, 4x SATA 6Gb/s Ports, Intel Optane Memory Ready
- Memory Support: 4 x DDR4 DIMM; MAX 64GB; Support for DDR4 2666/2400/2133 MHz memory modules
- Onboard graphics: 1 D-Sub, 1x DVI-D, 1x HDMI ports
- Onboard LAN module: Realtek 8118 High speed Gigabit Gaming LAN with automatic bandwidth allocation
- Supports RGB light strips in 7 colors
- VR Ready
More details and specifications can be found here.
Storage
We’re happy to say that we were able to squeeze in both a super fast Solid State Drive (SSD) as well as a large hard drive (HDD) for storage. SSDs perform much, much faster than traditional HDDs, but can be expensive to buy if you’re after a lot of storage space. A dual HDD + SSD setup gives the best of both worlds – speed from the SSD, and cheap bulk storage space from the HDD.
- Up to 500 MB/s read speed, 350MB/s write speed
- Noticeably faster loading, start-up and transfer times – 10x faster than a HDD
- Much more reliable than traditional HDDs
To get the best performance from your SSD, install your operating system and your most used programs/files on this drive. This will allow those to run faster than if they were installed/located on the HDD.
Because SSDs aren’t always cheap in larger sizes, we’ve also included a 1TB hard disk drive to give a lot more storage space in this build. Sure, it won’t be as fast as the SSD, but it’s great for storing media files and will mean you don’t have to scrimp on space.
- Decent size 1TB of space with 7200rpm speed
- Comes with IntelliSeek technology to optimize power consumption, noise and vibration
- 2 year manufacturer limited warranty
Case
We’ve selected Thermaltake’s Versa N27 Shadow Blade ATX Mid Gaming tower to house this beastly build. This is an awesome looking case which includes a full clear window side panel so you can view all your hardware inside. It provides the room you need for all your components, offers great cooling capability and even comes with 3 red LED fans pre-installed.
- Bottom Mounted PSU for the most effective ventilation.
- Sleek mirror pane full side window design
- Wire Management Support – 20mm space to run cables easily.
- Tool-free drive bay
- Up to five 120mm fans, with radiator support for liquid cooling (1x 240mm and 1x 120mm)
- Fits large graphics cards, up to 250mm (or 360mm without HDD cage)
If you want to customize the appearance of your case, head over to our post on case lighting for some more ideas.
Power supply
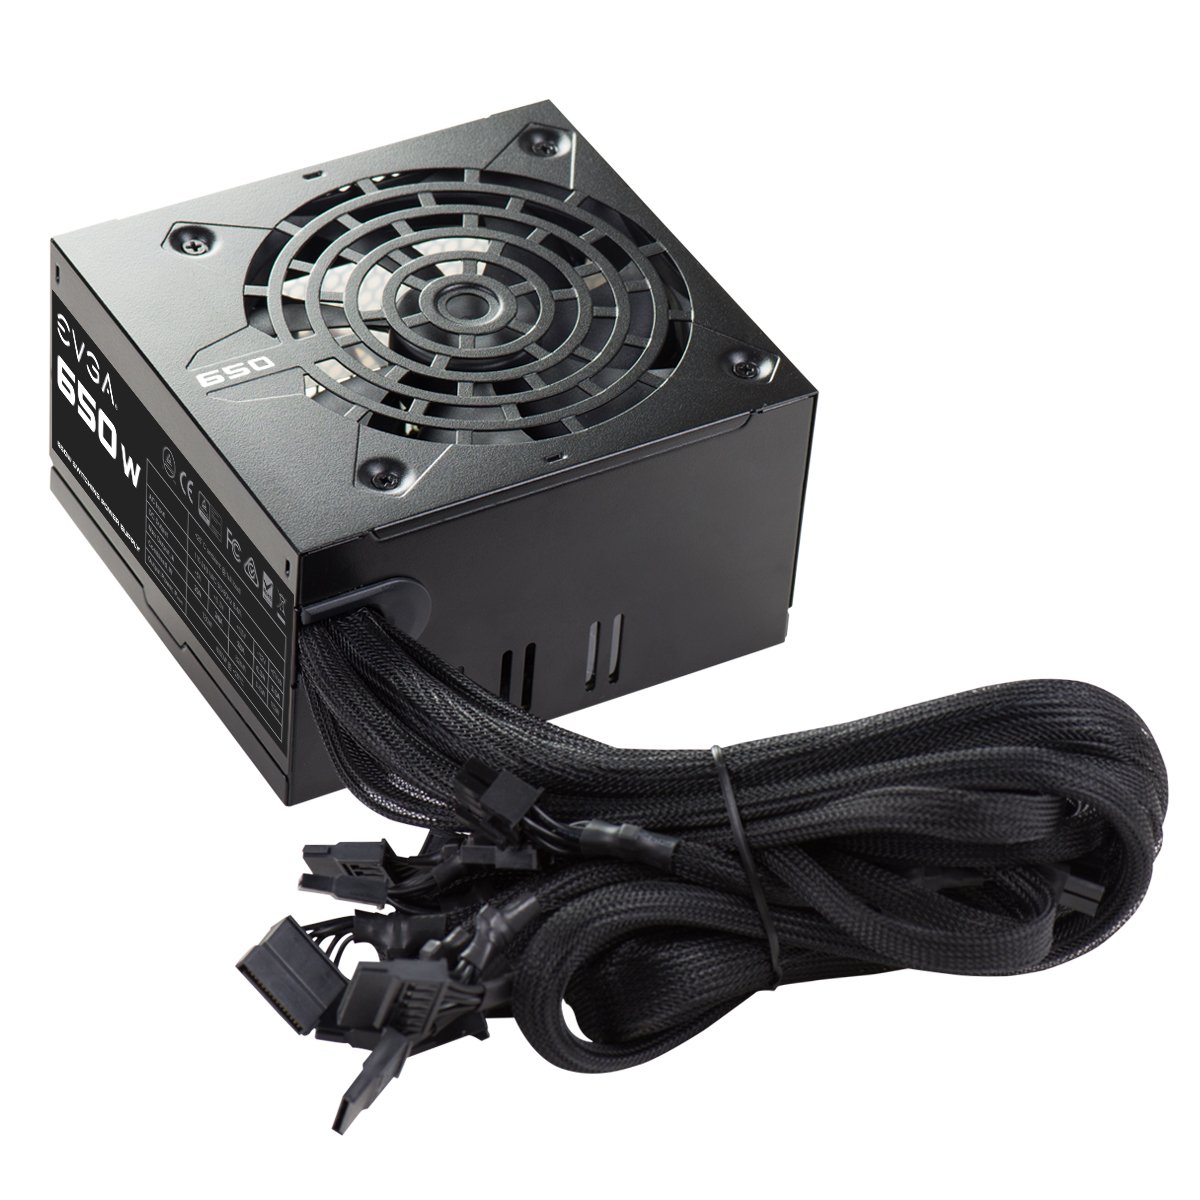
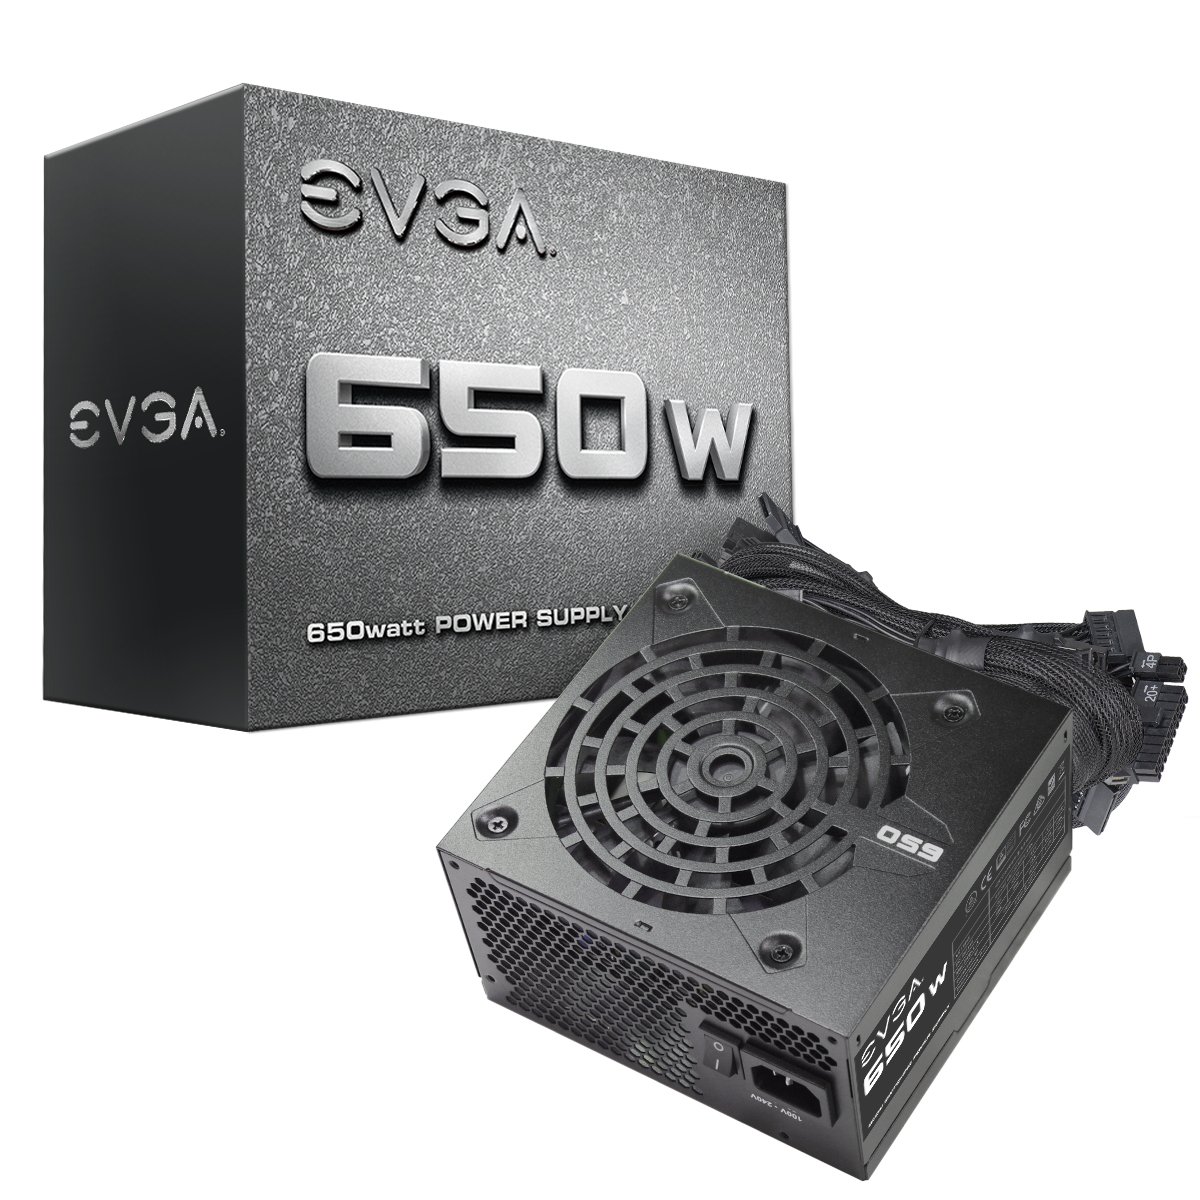
Finally, the power supply. You need a strong, stable and reliable power source for all of this quality gear. We’ve chosen an EVGA 650W N1 power supply for the job. This unit provides plenty of power for your system with enough capacity to support future additions and other extras. Being their budget offering, it also comes in at a very good price for our needs, offering quality and reliability while still providing all the most important protections for peace of mind.
- Supports 52A on a single 12v+ rail – this offers the most compatibility & reliability for powering demanding components.
- Ultra quiet fan design
- Important heavy-duty protections including SCP (Short Circuit Protection), OCP (Over Current Protection), OVP (Over Voltage Protection), OPP (Over Power Protection), and OTP (Over Temperature Protection)
- 2 year warranty
View all parts pricing on Amazon »
Optional Extras
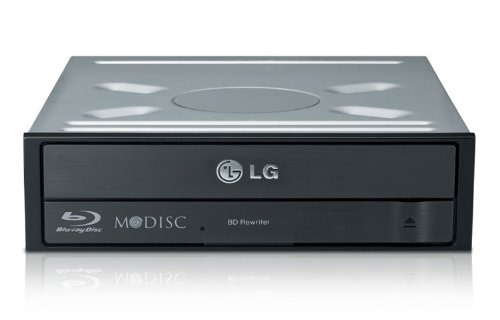
In our budget builds we typically don’t include optical drives – e.g. DVD / BluRay drives. These days, many people install their operating system (usually Windows) via a USB drive and games via digital download (e.g. Steam). We have a guide up in our blog here showing how. If you’d rather use an optical drive or just find them handy to have we’ve included an option below which will suit most builds.
Blu-Ray – LG Electronics 14x Internal BDXL Blu-Ray Burner
DVD – Lite-On 24X SATA Internal DVD+/-RW Drive
Case Fans – Cooler Master SickleFlow 120
Add some extra airflow to your case, especially if you live in a hot area. These Cooler Master fans are a good balance between airflow, noise and price. They also come in a choice of several colors so try to match any other lighting you may want to add to your case.







GTX 970 is very outdated and you should replace it with GTX 1060 or Radeon RX 580 at least.
Hi Akshat,
Yes, you are correct! The GTX 1060 or RX 580 are better choices now. We’re actually in the middle of updating all of our builds and should have the new versions up very soon, including some with the new Ryzen processors.
I’ve had a problem choosing a power supply for a gaming pc i’m assembling, but now i feel the EVGA will work in my case too.
Nice Ortega, we tend to recommend EVGA for the power supply in all our builds because we’re happy with the quality you get on these supplies (not to mention the warranty), and they’re a good price as well.
A decent build for the price!
However i would of gone with the GTX 1060 over the 970, The 1060 in benchmark tests comes out on top.
There also dropping in price also 🙂
Thanks for the feedback WilcoGamer 🙂
We’ve been a little slack in updating our builds, at the time we couldn’t get the 1060 in there within the budget. We’ll be updating this soon though!
Solid build right here. My only suggestion would be to get a bigger case if possible – it’s always better to have “too much” space in case you decide to add something or upgrade something down the road. I made the mistake in the past of getting a case that could only hold what I was putting in it when I was building it, and later on I tried to add some more fans for some more cooling and found that they didn’t fit! I should mention that the case was designed to have the fans I was trying to add, but the size of my other components (namely the beastly graphics card) prevented me from being able to add them.
It was on that day that I learned you shouldn’t skimp on the case size!
Hi Sarah,
Yep, I think a lot of us have been there. I especially remember the days when graphics cards started to become monsters that barely fit inside most cases. Luckily most case manufactures plan for this now.
NZXT make excellent, well thought out cases which make great use out of a small size.
The Source 210 in this build can hold an ATX motherboard, fit 6 or 7 fans and fit graphics cards as long as 330mm! The larger graphics cards will block the use of some hard drive bays but since there’s 8 hard drive bays it’s rarely a problem.
I encourage everyone to explore the various cases available to add a personal touch to their build. As you mentioned however, it’s important to ensure there’s enough room for all of your components and upgrades.
Great site by the way 🙂
could you get away with a 500W PSU for this build? i checked out the GTX 970 page and it says Recommended PSU: 500W or greater power supply, and my budget is pretty tight so looking to save some $ wherever I can… thanks
Hi csg,
Yeah, you can get away with a 500w PSU if you must but just make sure it’s a good quality power supply and has two 6 pin connectors for the graphics card. The brand / model of the GTX970 can also play a role as some of the heavily overclocked cards recommend 550w PSUs so be sure to double check the specifications of the exact card you plan to buy.