To backup iPhone to PC in 2025, connect your iPhone via USB cable, open the Apple Devices app (Windows 11/10) or iTunes (older Windows versions), click your iPhone icon, select “Back up all the data on your iPhone to this computer,” and click “Back Up Now.” The backup process takes 10-60 minutes depending on data amount, creating a complete snapshot of your iPhone’s photos, messages, apps, settings, and files stored locally on your PC for free, without using iCloud storage. Windows 11 and recent Windows 10 versions use the Apple Devices app (downloaded from Microsoft Store), while older systems use iTunes—both create identical encrypted backups protecting your data.
Regular iPhone backups protect against data loss from broken phones, accidental deletions, or failed updates. Understanding all backup methods helps you choose the best approach for your situation. Let’s explore every way to backup iPhone to PC in 2025.
Why Backup iPhone to PC Instead of iCloud
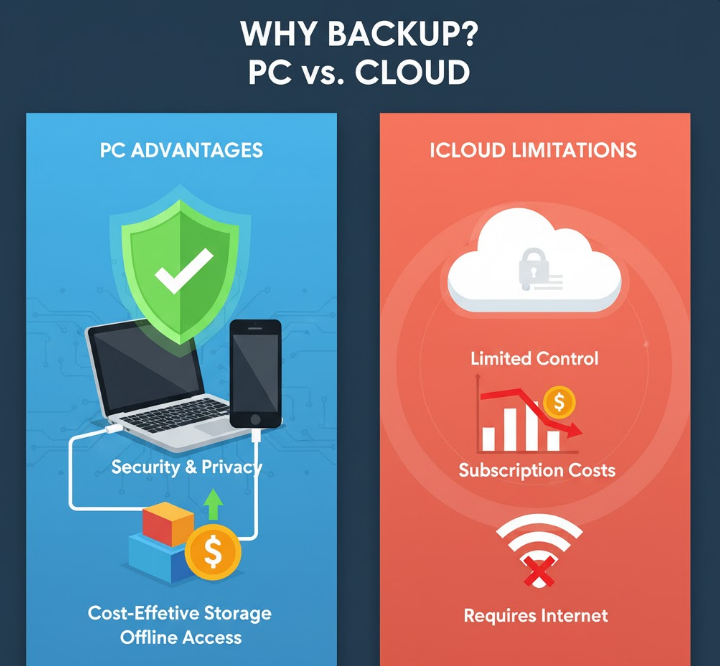
Understanding the advantages of PC backups versus iCloud helps you make informed backup decisions.
Storage Space Benefits:
iCloud provides only 5GB free storage, which fills quickly with photos, videos, and app data. Additional iCloud storage costs $0.99/month (50GB), $2.99/month (200GB), or $9.99/month (2TB). PC backups use your computer’s storage—typically hundreds of gigabytes available for free. A 256GB iPhone backs up completely to your PC without monthly subscription costs.
Speed and Control:
USB cable backups transfer data at 480 Mbps (USB 2.0) or 5 Gbps+ (USB 3.0/USB-C), completing in 10-30 minutes for most iPhones. iCloud backups depend on Wi-Fi speed and can take hours or fail partway through on slow connections. PC backups give you complete control over when and where backups occur.
Privacy Considerations:
Some users prefer keeping data on personal computers rather than cloud servers. PC backups store entirely locally—your photos, messages, and files never leave your control. While iCloud uses encryption, local PC backups offer additional privacy peace of mind.
Full Device Backup:
PC backups capture everything: photos, videos, messages, contacts, app data, settings, home screen layout, and more. iCloud free tier (5GB) forces you to exclude photos or apps to fit within storage limits. PC backups include everything regardless of size.
When iCloud Makes More Sense:
iCloud excels for automatic wireless backups, multiple device access, and convenience. If your PC lacks sufficient storage, iCloud subscriptions provide scalable cloud storage. Many users employ both methods: daily automatic iCloud backups for convenience, plus weekly PC backups for comprehensive local archives.
Method 1: Using Apple Devices App (Windows 11/10)
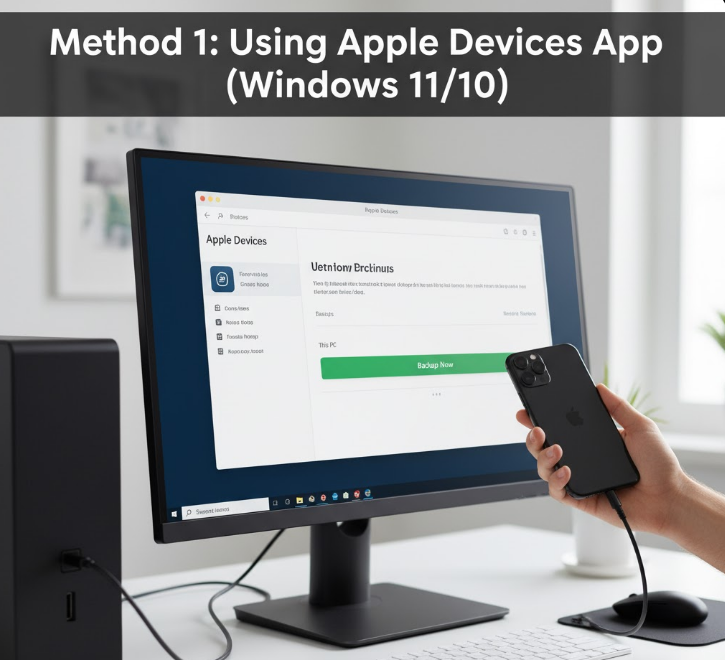
Microsoft Store’s Apple Devices app replaced iTunes for iPhone management on modern Windows systems. This native Windows 11/10 app provides the cleanest backup experience in 2025.
Installing Apple Devices App:
Step 1: Open Microsoft Store by clicking Start menu and searching “Microsoft Store,” or press Windows Key and type “store.”
Step 2: In Microsoft Store’s search box, type “Apple Devices” and press Enter.
Step 3: Click the “Apple Devices” app in search results (published by Apple Inc.).
Step 4: Click “Get” or “Install” to download and install the app. Installation takes 1-2 minutes.
Step 5: Once installed, click “Open” or find Apple Devices in your Start menu.
Apple’s official iPhone backup guide
Connecting iPhone to PC:
Step 1: Use your iPhone’s charging cable (Lightning cable for iPhone 14 and earlier, USB-C cable for iPhone 15 and later) to connect iPhone to your PC’s USB port. Use USB 3.0 ports (typically blue or labeled “SS”) for faster backups.
Step 2: Unlock your iPhone using Face ID, Touch ID, or passcode.
Step 3: A prompt appears on your iPhone: “Trust This Computer?” Tap “Trust” and enter your iPhone passcode when prompted. This security measure ensures only authorized computers access your iPhone.
Step 4: Open Apple Devices app on your PC (if not already open). The app automatically detects your connected iPhone.
Creating Your First Backup:
Step 1: In Apple Devices app, your iPhone appears with its name at the top. The app displays iPhone model, iOS version, serial number, and storage capacity.
Step 2: Look for the “Backups” section in the middle of the window. You’ll see two backup options:
- iCloud – Back up all iPhone data to iCloud (requires iCloud storage)
- This computer – Back up all iPhone data to this Windows PC
Step 3: Select “This computer” by clicking the radio button next to “Back up all the data on your iPhone to this computer.”
Step 4: (Optional but recommended) Check the box for “Encrypt local backup” to protect sensitive data. When you enable encryption, a dialog prompts you to create a backup password. Important: Remember this password—you cannot restore encrypted backups without it. Write it down and store it safely.
Encrypted backups include passwords saved in Keychain, Wi-Fi passwords, website history, and Health data. Unencrypted backups exclude this sensitive information.
Step 5: Click the large “Back Up Now” button. The backup process begins immediately.
Step 6: A progress bar appears showing backup progress and estimated time remaining. Don’t disconnect your iPhone during backup—interruption corrupts the backup file.
Step 7: When complete, you’ll see “Latest Backup: [Today’s date and time]” under the backup options. Your iPhone backup is now safely stored on your PC.
Where Backups Are Stored:
Apple Devices stores iPhone backups in: C:\Users$$YourUsername]\Apple\MobileSync\Backup\
Each backup creates a folder with a long alphanumeric name. Don’t rename or move these folders—doing so makes backups unrecognizable to Apple Devices app.
After testing Apple Devices app across Windows 11 and Windows 10 systems, it delivers the smoothest iPhone backup experience Microsoft has ever offered. The interface is clean, backup speeds match iTunes performance, and the app integrates naturally with Windows. If you’re on Windows 11 or recent Windows 10 (version 1903 or later), skip iTunes entirely and use Apple Devices—it’s superior in every way.
Method 2: Using iTunes (Older Windows Versions)
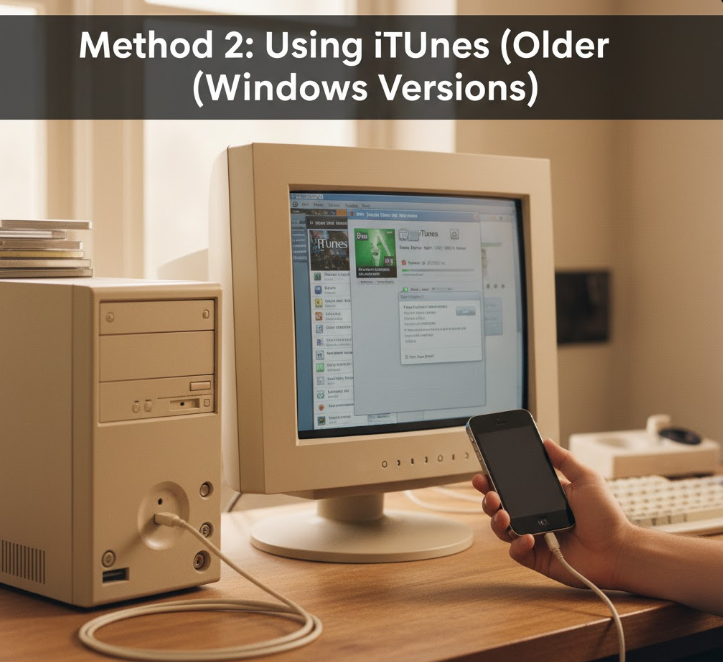
Windows systems before version 1903, or users preferring traditional iTunes, can use iTunes for iPhone backups. The process mirrors Apple Devices app functionality.
Installing iTunes:
Step 1: Open Microsoft Store (Windows 10) or visit apple.com/itunes on older Windows versions.
Step 2: Search for “iTunes” in Microsoft Store, or download the traditional iTunes installer from Apple’s website.
Step 3: Install iTunes and launch the application.
Step 4: Sign in with your Apple ID when prompted (the same ID you use on your iPhone).
Backing Up with iTunes:
Step 1: Connect your iPhone to PC via USB cable.
Step 2: Unlock your iPhone and tap “Trust This Computer” when prompted.
Step 3: Open iTunes. A small iPhone icon appears in the top-left corner of the iTunes window. Click this icon.
Step 4: The iPhone Summary page opens, showing device information, capacity, and backup options.
Step 5: In the “Backups” section, select “This computer” under “Automatically Back Up.”
Step 6: (Optional) Check “Encrypt local backup,” create a password, and click “Set Password.”
Step 7: Click “Back Up Now” button. The backup progress appears at the top of the iTunes window.
Step 8: When complete, the “Latest Backup” timestamp updates to show today’s date and time.
Managing iTunes Backups:
To view all backups stored on your PC, go to Edit > Preferences > Devices in iTunes. A list shows all iPhone backups with dates and device names. Encrypted backups display a lock icon.
To delete old backups (freeing PC storage), select the backup in this list and click “Delete Backup.”
Method 3: Wireless iPhone Backup to PC
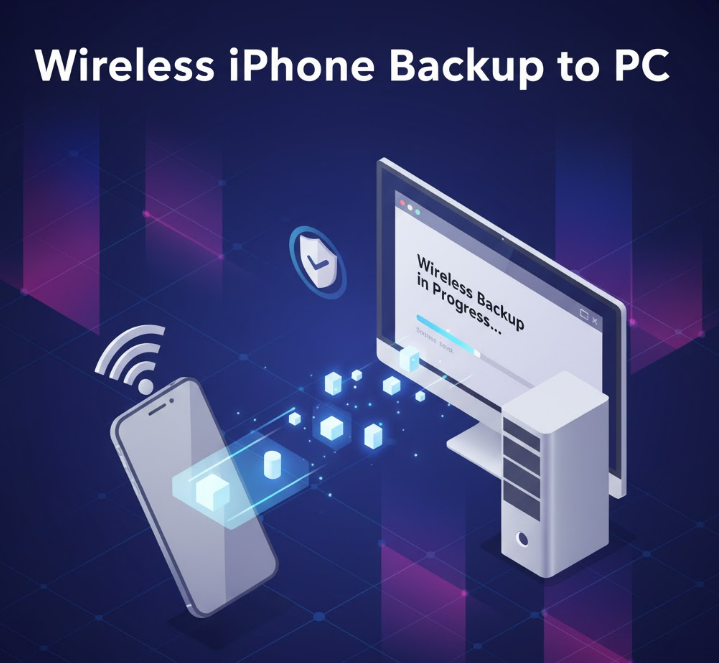
Modern iPhones and Windows systems support wireless backups over Wi-Fi, eliminating the need for cables once initial setup completes.
Setting Up Wi-Fi Sync:
Step 1: Connect your iPhone to PC via USB cable initially (required for first-time setup).
Step 2: Open Apple Devices app or iTunes.
Step 3: Click your iPhone icon.
Step 4: Scroll down to the “Options” section.
Step 5: Check the box for “Sync with this iPhone over Wi-Fi.”
Step 6: Click “Apply” to save settings.
Step 7: Disconnect the USB cable. Your iPhone and PC now sync wirelessly when both are on the same Wi-Fi network.
Creating Wireless Backups:
Step 1: Ensure your iPhone and PC are connected to the same Wi-Fi network.
Step 2: Open Apple Devices app or iTunes on your PC.
Step 3: Your iPhone appears automatically in the app (may take 10-20 seconds to detect).
Step 4: Click your iPhone, select backup options, and click “Back Up Now.”
Step 5: The wireless backup proceeds exactly like wired backups, though transfer speeds are slower (dependent on Wi-Fi speed).
Wireless Backup Limitations:
Wi-Fi backups work best on strong, stable networks. Weak Wi-Fi causes timeouts and backup failures. For large backups (100GB+ of data), wired connections provide faster, more reliable transfers. Wireless backups also require both devices to remain active—putting your PC to sleep interrupts the process.
Method 4: Using Third-Party Backup Software
Third-party applications offer alternatives to Apple’s official tools, sometimes with additional features like selective backups and cross-platform compatibility.
iMazing (Paid):
iMazing provides powerful iPhone management beyond basic backups. Features include selective file backups, direct access to iPhone file system, app data extraction, and message exports. Download from imazing.com. The software costs $44.99 for a single license but offers more control than free Apple tools.
Dr.Fone (Free/Paid):
Dr.Fone offers free basic backups with paid advanced features. Download from drfone.wondershare.com. The free version backs up entire iPhones, while paid tiers add selective backup, data extraction, and iOS system repair.
AnyTrans (Free/Paid):
AnyTrans provides iTunes-free iPhone management. Download from imobie.com/anytrans. Free version includes basic backups, paid version adds selective file transfer, app management, and iOS upgrade/downgrade tools.
Advantages of Third-Party Tools:
These apps often provide faster backups through optimized transfer protocols. They offer selective backups (only photos, only messages, etc.) reducing backup sizes. Some include features Apple’s tools lack, like direct file browsing and data extraction from backups without full restore.
Disadvantages:
Most require paid licenses for full functionality. They’re not official Apple tools, so compatibility issues occasionally arise with new iOS versions. Some users report slower updates and support compared to Apple’s maintained apps.
Understanding Backup Contents

Knowing what iPhone backups include helps you understand what you’re protecting and what requires separate backup methods.
Included in iPhone Backups:
- App data and settings (for apps that support backup)
- Device settings and configurations
- Home screen layout and app organization
- iMessages, text messages (SMS), and MMS messages
- Photos and videos in Camera Roll (if not using iCloud Photos)
- Purchase history from Apple services
- Ringtones
- Visual Voicemail password
- Health data (encrypted backups only)
- HomeKit configuration
- Saved passwords (encrypted backups only)
NOT Included in iPhone Backups:
- Content stored in iCloud (if iCloud Photos, iCloud Drive enabled)
- Touch ID or Face ID settings (biometric data)
- Apple Pay information
- Apple Mail data (stored on email servers)
- Data from apps using their own cloud storage (Spotify downloads, Netflix downloads, etc.)
- Content from iTunes and App Store (re-downloaded during restore)
Photos Backup Considerations:
If you enable iCloud Photos on iPhone, photos upload to iCloud automatically and are not included in PC backups (to avoid duplication). To backup photos to PC, either:
- Disable iCloud Photos and take a full iPhone backup (photos included)
- Keep iCloud Photos enabled and separately transfer photos using methods described in our iPhone photo transfer guide
- Use both iCloud and PC storage for redundant photo backups
Restoring iPhone from PC Backup
Creating backups only matters if you can restore them. Understanding the restore process ensures you’re prepared for iPhone replacements, upgrades, or data loss scenarios.
When to Restore from Backup:
- Setting up new iPhone (upgrade from iPhone 14 to iPhone 16, etc.)
- After factory reset due to problems
- Recovering from data loss or accidental deletion
- Returning from iOS beta to stable release
- Fixing software issues requiring fresh start
Restore Process:
Step 1: Connect iPhone to PC via USB cable.
Step 2: For new iPhones, follow setup prompts until reaching “Apps & Data” screen, then select “Restore from Mac or PC.”
Step 3: For existing iPhones needing restore, open Apple Devices app or iTunes, click your iPhone icon.
Step 4: Click “Restore Backup” button (not to be confused with “Restore iPhone” which erases everything).
Step 5: Select which backup to restore from the dropdown menu. Multiple backups appear if you’ve backed up multiple times or multiple devices. Choose based on date and device name.
Step 6: If the backup is encrypted, enter the backup password you created.
Step 7: Click “Restore” and wait. The process takes 20-60 minutes depending on backup size.
Step 8: Your iPhone restarts multiple times during restore. Don’t disconnect until the process completes and your iPhone displays the lock screen.
Step 9: After restore, apps re-download from App Store (requires internet connection), and iCloud data syncs automatically if iCloud services are enabled.
Detailed backup and restore instructions from Apple
Troubleshooting Restore Issues:
“Backup is corrupt or not compatible” error indicates backup file damage or iOS version incompatibility. You cannot restore backups from newer iOS versions to older versions (e.g., iOS 18 backup won’t restore to iPhone running iOS 17).
“Not enough storage” error means your iPhone’s capacity is smaller than the backup. You cannot restore a 256GB iPhone backup to a 128GB iPhone if the backup data exceeds 128GB.
“Incorrect password” for encrypted backups has no workaround—without the password, you cannot access encrypted backups. This underscores the importance of securely storing backup passwords.
One critical lesson from hundreds of backup/restore cycles: test your backups occasionally by verifying they appear in Apple Devices app or iTunes backup list. Backups that don’t complete properly won’t restore when you desperately need them. I recommend creating a backup before every major iOS update and before selling/trading iPhones. The 20 minutes spent backing up prevents catastrophic data loss that no amount of time or money fully recovers.
Automating Regular Backups
Manual backups work but require remembering to do them. Setting up automated backup reminders or schedules ensures consistent data protection.
Using Windows Task Scheduler:
Windows Task Scheduler can’t directly trigger iPhone backups (requires iPhone connection), but you can set reminders:
Step 1: Open Task Scheduler (search in Start menu).
Step 2: Create Basic Task with a weekly trigger (every Sunday evening, for example).
Step 3: Set action to “Display a message” reminding you to backup iPhone.
Step 4: Save the task. Each week, a reminder pops up prompting manual backup.
Calendar Reminders:
Set recurring calendar events in Outlook, Google Calendar, or Apple Calendar reminding you to backup iPhone weekly or monthly. Simple but effective for maintaining backup routines.
Backup Best Practices:
- Backup before every iOS update (updates occasionally cause data loss)
- Backup before selling, trading, or repairing iPhone
- Create multiple backups on different dates (weekly rotation)
- Store critical backups on external drives or cloud storage for redundancy
- Test restore process occasionally to verify backup integrity
- Keep backup passwords in secure password manager
Managing PC Storage for iPhone Backups
iPhone backups consume significant PC storage. A 256GB iPhone backup can occupy 100-200GB on your PC. Managing this storage prevents running out of space.
Checking Backup Storage Usage:
Navigate to C:\Users$$YourUsername]\Apple\MobileSync\Backup\ in File Explorer. Right-click the Backup folder and select Properties to see total storage used by all iPhone backups.
Deleting Old Backups:
In Apple Devices app or iTunes, go to Edit > Preferences > Devices. Select old backups you no longer need and click “Delete Backup.” This frees PC storage while keeping recent backups.
Moving Backup Location:
Advanced users can move the backup folder to external drives using symbolic links (symlinks):
Step 1: Copy the entire Backup folder to your external drive (e.g., D:\iPhone Backups$$.
Step 2: Delete the original Backup folder from C:\Users$$YourUsername]\Apple\MobileSync.
Step 3: Open Command Prompt as Administrator.
Step 4: Type this command (adjust paths if needed):
textmklink /J "C:\Users\[YourUsername]\Apple\MobileSync\Backup" "D:\iPhone Backups"
Step 5: Press Enter. A symbolic link redirects backups to your external drive while Apple Devices/iTunes still finds them.
Note: External drives must be connected during backups and restores for this method to work.
The Bottom Line
Backing up iPhone to PC in 2025 requires connecting your iPhone via USB cable, opening Apple Devices app (Windows 11/10) or iTunes (older Windows), selecting “This computer” as backup location, optionally enabling backup encryption, and clicking “Back Up Now.” The process takes 10-60 minutes creating a complete iPhone backup stored locally on your PC using free storage instead of paid iCloud subscriptions.
Windows 11 and recent Windows 10 versions use the Apple Devices app from Microsoft Store, providing a cleaner, more modern experience than iTunes. Older Windows systems rely on iTunes which works identically but with a dated interface.
Enable backup encryption to include passwords, Health data, and sensitive information in your backups. Remember your backup password—without it, encrypted backups cannot be restored.
Create backups weekly or before iOS updates, iPhone repairs, or device sales. Regular backups protect against data loss from broken phones, failed updates, or accidental deletions. Test backups occasionally by verifying they appear in your backup list—corrupted or incomplete backups won’t restore when you need them.
PC backups offer unlimited storage (limited only by PC hard drive capacity), faster USB transfer speeds, complete privacy (data never leaves your computer), and no monthly subscription costs. Combined with iCloud for convenience, PC backups provide comprehensive iPhone data protection.
