Skip to content
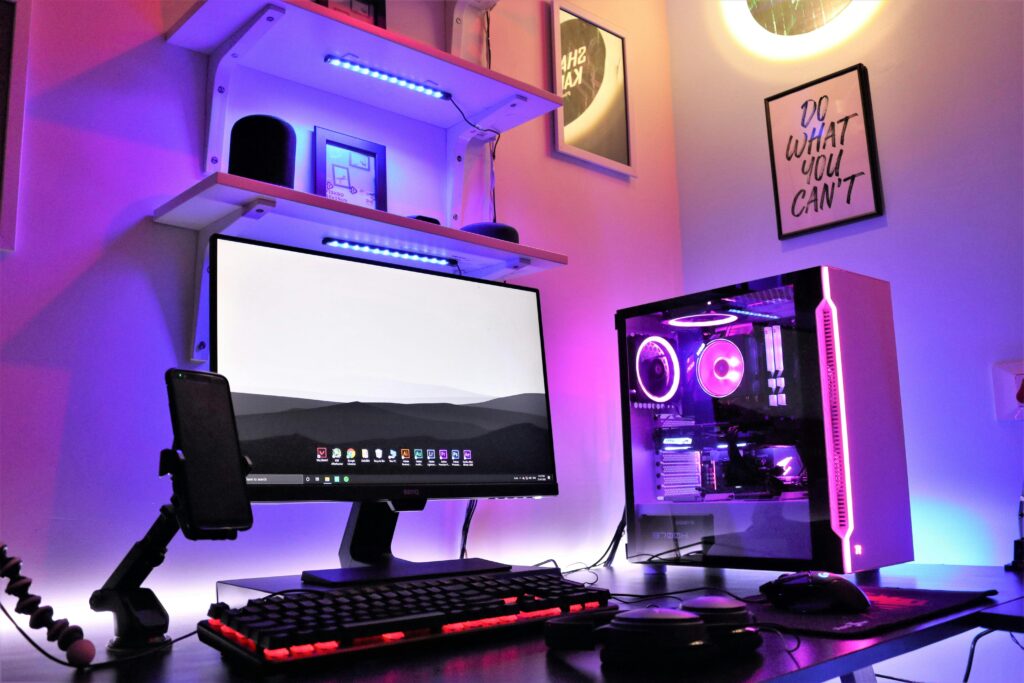
 Yes, you can absolutely build your own Mini PC in 2026, and it’s easier than ever thanks to modern Mini-ITX components that deliver full desktop performance in cases as small as 5-15 liters. Building a mini PC follows the same fundamental steps as building a standard desktop—installing CPU, RAM, storage, GPU, and power supply—but requires careful component selection to ensure everything fits within compact dimensions. Modern mini-ITX cases like the Lian Li Q58 ($130), Fractal Terra ($180), and Cooler Master NR200P ($90) accommodate full-size graphics cards up to 14 inches long and support 240-280mm liquid coolers, meaning you can build a gaming mini PC with RTX 5070/5080 or RX 9070 XT performance that rivals traditional towers while occupying one-third the space.
The key to successful mini PC building is planning compatibility first—choosing your case, then selecting components that fit its clearances for GPU length, CPU cooler height, and power supply size (usually SFX format). Let’s walk through every step to build your own mini PC from start to finish.
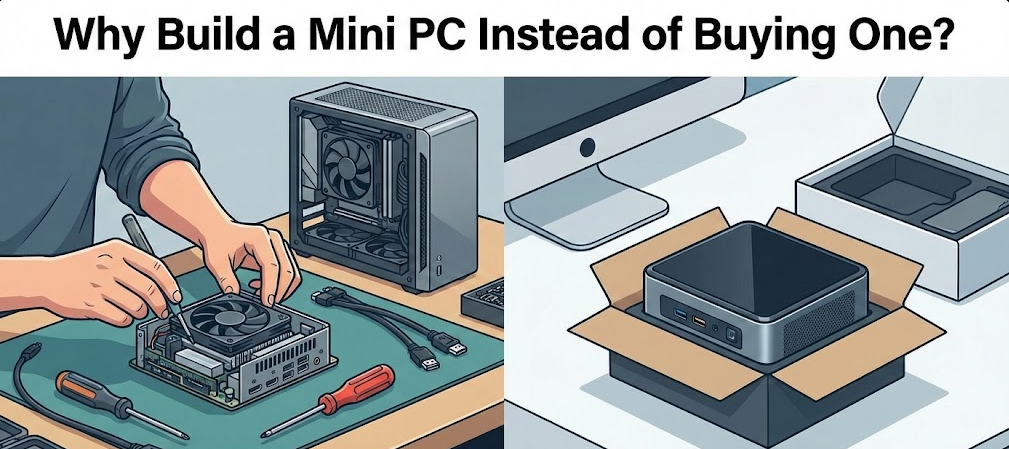
Why Build a Mini PC Instead of Buying One?
Understanding the advantages and trade-offs helps you decide if DIY mini PC building suits your needs.
Cost Savings:
Pre-built mini PCs from brands like Minisforum, Beelink, and ASUS ROG NUC cost $800-2,500+ for gaming configurations. Building your own typically saves $200-500 while offering superior component selection—you choose exactly the CPU, GPU, RAM, and storage you want rather than accepting manufacturer compromises.
Performance Flexibility:
Pre-built mini PCs usually use mobile CPUs and GPUs (laptop components) that perform 20-40% slower than desktop equivalents. DIY mini-ITX builds use full desktop CPUs (Intel Core Ultra, AMD Ryzen) and desktop GPUs (RTX 5000 series, RX 9000 series) delivering maximum performance in minimal space.
Upgradeability:
Pre-built mini PCs often use soldered components (RAM, storage) or proprietary parts limiting future upgrades. DIY builds use standard components—upgrade GPU, add RAM, swap storage, or replace CPU just like regular desktops.
Portability with Power:
Mini-ITX builds offer gaming laptop performance without laptop compromises (better cooling, upgradeable, desktop displays). Perfect for LAN parties, college dorms, small apartments, or living room gaming setups where space matters.
The Trade-Offs:
Building mini PCs requires more planning than ATX builds—verifying component dimensions, cable management challenges in tight spaces, and potentially higher costs for SFX power supplies and low-profile coolers. Cooling can be trickier requiring quality case fans or AIOs. But for most builders, these challenges are worthwhile for the space savings.
Step 1: Choosing Your Mini-ITX Case (The Foundation)
Your case determines everything else—GPU length, cooler height, PSU type, and overall build difficulty. Choose the case first, then select components fitting its specifications.
Best Mini-ITX Cases December 2025:
Lian Li Q58 ($130) – Best Overall:
- 14.3 liter volume, excellent airflow
- GPU clearance: 14.1 inches (fits most cards)
- Supports 280mm AIO or large air coolers
- ATX or SFX PSU support (flexible)
- Includes PCIe 3.0 riser ($30 upgrade to PCIe 4.0)
- Steel construction with glass/mesh panels
Fractal Design Terra ($180) – Best Design:
- 10.5 liter ultra-compact
- GPU clearance: 12.8 inches
- Requires SFX PSU
- Wood front panel option (beautiful aesthetics)
- Flip-up doors for easy access
- 280mm AIO or air cooler support
Cooler Master NR200P ($90) – Best Budget:
- 18.25 liter (slightly larger, easier to build)
- GPU clearance: 13.6 inches
- Supports ATX or SFX PSU
- Includes mesh and glass panels
- Vertical or horizontal GPU mounting
- Excellent thermals with 6 fan mounts
Hyte Revolt 3 ($129) – Best for Portability:
- 14 liter with carrying handle
- GPU clearance: 13.4 inches
- Headphone holders built-in
- 280mm AIO support
- No PCIe riser needed (traditional layout)
- Perfect for LAN parties
NZXT H200 ($100) – Beginner-Friendly:
- 26 liter (larger mini-ITX)
- GPU clearance: 15 inches
- Easy cable management
- Traditional tower layout
- Good for first-time mini builders
- Supports standard ATX PSU
Key Specifications to Check:
When choosing cases, verify:
- GPU clearance – Measure your desired GPU length
- CPU cooler height – Check maximum cooler height support
- PSU type – SFX (compact) or ATX (standard) support
- Radiator support – 240mm vs 280mm AIO compatibility
- Storage bays – Number of 2.5″ SSD and M.2 slots
Tom’s Hardware’s tested mini-ITX case recommendations
PCMag’s comprehensive mini-ITX case buying guide
Step 2: Selecting Compatible Components
With your case chosen, select components fitting its dimensions and your performance needs.
CPU Selection (December 2025):
Budget ($100-200):
- AMD Ryzen 5 9600X ($230) – 6 cores, excellent efficiency
- Intel Core i5-14400F ($180) – 10 cores, great value
Mid-Range ($250-400):
- AMD Ryzen 7 9700X ($350) – 8 cores, balanced performance
- Intel Core Ultra 7 265K ($380) – 8P+12E cores, powerful
High-End ($450-600):
- AMD Ryzen 9 9900X ($500) – 12 cores, productivity beast
- AMD Ryzen 9 9950X ($650) – 16 cores, ultimate performance
- Intel Core Ultra 9 285K ($600) – 8P+16E cores, flagship
GPU Selection (December 2025):
Verify GPU length fits your case clearance!
1080p Gaming ($200-400):
- RTX 5060 Ti 16GB ($430) – Ray tracing capable
- RX 9060 XT ($350) – Excellent value
1440p Gaming ($500-700):
- RTX 5070 ($550) – Solid mid-range
- RX 9070 XT ($650) – High performance
4K Gaming ($800-1,200):
- RTX 5080 ($1,000) – High-end gaming
- RX 9800 XT ($900) – AMD flagship
Check GPU dimensions—many are 11-13 inches long. Compact options exist (Asus Dual, MSI Ventus) at 9-10 inches for smallest cases.
Motherboard (Mini-ITX Format):
AMD (AM5 Socket – Ryzen 9000/7000):
- MSI B650-I Gaming Edge ($200) – Excellent value
- ASUS ROG Strix B650E-I ($280) – Premium features
- Gigabyte X670E Aorus Pro ($300) – High-end overclocking
Intel (LGA 1851 – Core Ultra 200):
- MSI Z890-I Gaming Edge ($280) – Great connectivity
- ASUS ROG Strix Z890-I ($320) – Premium option
- ASRock Z890 Phantom Gaming ITX ($240) – Budget-friendly
CPU Cooler:
Check maximum cooler height your case supports!
Low-Profile Air (Under 70mm):
- Noctua NH-L12S (70mm) – Excellent cooling
- Thermalright AXP120-X67 (67mm) – Budget option
Tall Air (70-160mm):
- Noctua NH-U12A (158mm) – Top performer
- Thermalright Phantom Spirit 120 EVO (157mm) – Value king
AIO Liquid (If Case Supports):
- Arctic Liquid Freezer II 240mm ($90) – Best value
- Corsair iCUE H100i Elite 240mm ($140) – RGB options
- NZXT Kraken 280 ($160) – Premium cooling
RAM (DDR5 for Modern Builds):
- 16GB (2x8GB) DDR5-6000 – Minimum gaming
- 32GB (2x16GB) DDR5-6000 – Recommended
- Brands: G.Skill, Corsair Vengeance, Kingston Fury
Storage:
- 1TB NVMe M.2 SSD – Minimum
- 2TB NVMe M.2 SSD – Recommended
- Brands: Samsung 990 Pro, WD Black SN850X, Crucial P5 Plus
Power Supply (SFX or ATX):
SFX Format (Compact):
- Cooler Master V750 SFX Gold ($140) – 750W, modular
- Corsair SF850 Platinum ($180) – 850W, premium
- Silverstone SX650-G ($110) – 650W, budget
ATX Format (If Case Supports):
- Corsair RM850e ($120) – 850W, excellent value
- MSI MPG A750GF ($110) – 750W, modular
- EVGA SuperNOVA 750W ($100) – Reliable
Wattage Guide:
- RTX 5060 Ti / RX 9060 XT: 550-650W
- RTX 5070 / RX 9070 XT: 650-750W
- RTX 5080 / RX 9800 XT: 750-850W
After building dozens of mini-ITX systems, the single most important tip is measuring everything twice. I’ve seen builders confidently order a 13-inch GPU for a case with 12.5-inch clearance, then face difficult return processes. Use PCPartPicker’s compatibility filter, but verify dimensions manually from manufacturer spec sheets. Five minutes of measurement prevents costly mistakes and build frustration.
Step 3: Assembly Process (Step-by-Step)
With components gathered, follow these steps for successful mini PC assembly.
Tools Needed:
- Phillips head screwdriver
- Anti-static wrist strap (optional but recommended)
- Thermal paste (usually included with cooler)
- Cable ties for management
- Flashlight or headlamp (helpful in tight spaces)
Assembly Order:
1. Prepare Workspace:
Clear a large, flat surface. Place case manual, motherboard manual, and all component boxes within reach. Ground yourself by touching metal case frame before handling components.
2. Install CPU on Motherboard:
Remove motherboard from anti-static bag. Locate CPU socket (large square with lever mechanism on AMD, clamshell design on Intel).
AMD Installation:
- Lift retention arm lever
- Align CPU gold triangle with socket triangle
- Drop CPU straight down (no pressure needed)
- Lower retention arm—latches automatically
Intel Installation:
- Open socket cover
- Align CPU notches with socket
- Place CPU gently (no pressure)
- Close socket cover—requires slight force (normal)
3. Install RAM:
Locate two RAM slots. Open clips on both ends of slots. Align RAM notch with socket key (off-center). Press RAM straight down firmly—clips snap closed automatically when seated properly.
4. Install M.2 SSD:
Locate M.2 slot (usually covered by heatsink). Remove heatsink screws. Insert M.2 SSD at 30-degree angle into slot. Press down flat. Secure with included screw. Replace heatsink.
5. Install CPU Cooler:
Air Cooler:
Follow cooler manual—varies by model. Generally:
- Apply thermal paste (pea-sized dot on CPU center)
- Attach mounting brackets to motherboard
- Place cooler on CPU
- Tighten screws in X-pattern (alternating corners)
- Connect fan cable to CPU_FAN header
AIO Liquid Cooler:
- Mount radiator to case (top or front)
- Attach fans to radiator
- Install pump/block on CPU with thermal paste
- Connect pump cable to CPU_FAN header
- Connect fan cables to CHA_FAN headers or pump
6. Test Components Outside Case:
Before installing in case, test components work:
- Connect PSU to motherboard (24-pin and 8-pin CPU power)
- Connect PSU to wall outlet
- Connect monitor to motherboard video output
- Short power pins with screwdriver (consult motherboard manual)
- System should POST (display BIOS screen)
- Power off after confirming POST
7. Install I/O Shield and Motherboard in Case:
Press I/O shield into case rear cutout (clips from inside). Align motherboard ports with I/O shield openings. Lower motherboard onto standoffs (pre-installed in case). Secure with motherboard screws (typically 4-6 screws).
8. Install Power Supply:
Place PSU in case (usually bottom or side in mini-ITX). Orient fan toward ventilation (usually downward if case has ventilation). Secure with 4 PSU screws.
9. Install GPU:
Remove PCIe slot covers from case rear (2-3 slots depending on GPU thickness). Connect PCIe riser cable if required by case design. Carefully align GPU with PCIe slot. Press down firmly until click. Secure GPU bracket to case with screws. Connect PCIe power cables (6+2 pin) from PSU.
10. Connect All Cables:
This is tightest part of mini-ITX building. Connect:
- 24-pin ATX power to motherboard
- 8-pin (4+4) CPU power to motherboard
- 6+2 pin PCIe power to GPU
- SATA power to storage drives (if using 2.5″ SSDs)
- Front panel connectors (power button, LEDs, USB)
- Fan cables to motherboard headers
Route cables behind motherboard tray where possible. Use cable ties to bundle excess cables. Mini-ITX requires patience—tight spaces make cable management challenging.
11. Close Case and First Boot:
Install side panels. Connect monitor, keyboard, mouse. Connect power cable. Press power button. System should boot to BIOS.
Step 4: BIOS Setup and Windows Installation
With hardware assembled, configure BIOS and install operating system.
BIOS Configuration:
On first boot, press Delete or F2 (varies by motherboard) to enter BIOS. Configure:
1. Enable XMP/EXPO (RAM Speed):
Navigate to Overclocking or AI Tweaker section. Enable XMP (Intel) or EXPO (AMD). This runs RAM at rated speed rather than default conservative speed.
2. Set Boot Priority:
Navigate to Boot section. Set USB drive or M.2 SSD as first boot device.
3. Verify All Components Detected:
Check System Information page confirms CPU, RAM amount, and storage detected correctly.
4. Enable Resizable BAR:
Navigate to Advanced or PCIe settings. Enable “Above 4G Decoding” and “Resizable BAR.” This improves GPU performance 5-15% in modern games.
5. Save and Exit:
Press F10 to save changes and restart.
Windows Installation:
Create Windows Installation Media:
On another computer, download Windows 11 Media Creation Tool from Microsoft. Use tool to create bootable USB drive (8GB+ USB required).
Install Windows:
- Insert USB drive into mini PC
- Boot from USB (may require pressing F11 or F12)
- Follow Windows setup wizard
- Select “Custom: Install Windows only”
- Choose M.2 SSD as installation drive
- Complete setup (20-30 minutes)
Post-Installation:
Update Windows:
Settings > Windows Update > Check for updates. Install all updates.
Install Drivers:
- Visit motherboard manufacturer website
- Download chipset, audio, and network drivers
- Visit GPU manufacturer website (NVIDIA/AMD)
- Download latest graphics drivers
Enable XMP/EXPO Verification:
Open Task Manager > Performance > Memory. Verify speed matches RAM rating (e.g., 6000 MHz).
Monitor Refresh Rate:
Settings > Display > Advanced display > Refresh rate. Select monitor’s maximum refresh rate (144Hz, 165Hz, etc.).
Cooling Optimization and Cable Management
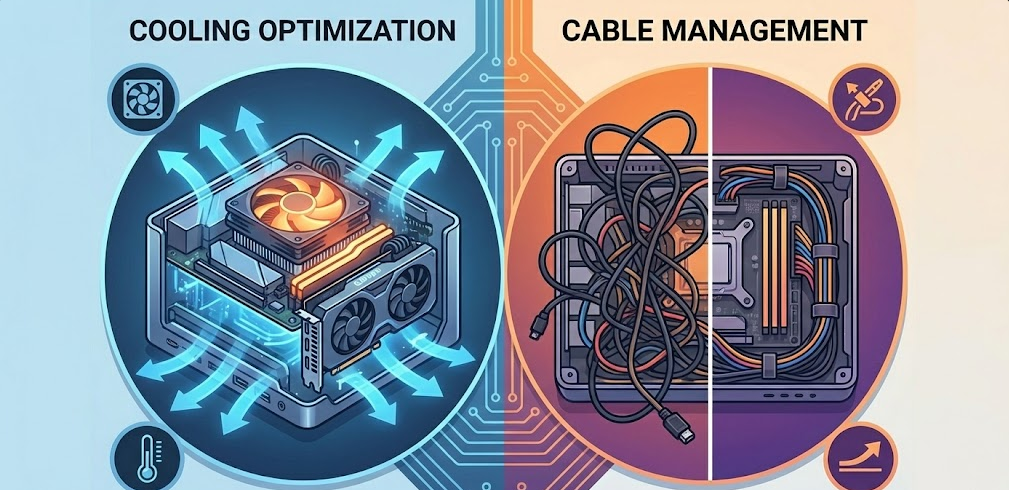
Mini-ITX builds require extra attention to cooling and cables due to limited space.
Fan Configuration:
Optimal airflow uses front/bottom intake, rear/top exhaust:
- Bottom fans pull cool air toward GPU
- Front fans supply CPU/motherboard area
- Rear/top fans exhaust hot air
Most mini-ITX cases support 4-7 fans total. 3-4 fans usually sufficient for excellent cooling.
Fan Curves:
In BIOS, configure fan curves:
- Set fans to 40-50% speed until 60°C
- Ramp to 70-80% at 70°C
- Maximum 100% at 80°C+
This balances noise and cooling.
Cable Management Tips:
- Use flat/low-profile cables (avoid bulky SATA cables)
- Bundle cables with velcro ties (easier to adjust than zip ties)
- Route cables behind motherboard tray whenever possible
- Consider custom-length cables for cleanest look
- Don’t force case closed—improperly routed cables strain connectors
Temperature Targets:
Normal operating temperatures:
- CPU idle: 30-45°C
- CPU gaming: 60-75°C
- CPU stress test: 75-85°C (under 90°C safe)
- GPU idle: 35-50°C
- GPU gaming: 65-80°C
- GPU stress test: 80-85°C (under 90°C safe)
If temperatures exceed these ranges, improve airflow or reapply thermal paste.
Troubleshooting Common Issues
Mini-ITX builds sometimes encounter specific problems. Here’s how to solve them.
Problem: PC Won’t Turn On
Solutions:
- Verify PSU switch is ON
- Check 24-pin and 8-pin CPU power firmly connected
- Confirm RAM seated properly (requires firm pressure)
- Test with one RAM stick at a time
- Verify front panel power button connected correctly
Problem: Display Shows “No Signal”
Solutions:
- Connect monitor to GPU ports (not motherboard)
- Verify GPU power cables connected (6+2 pin)
- Reseat GPU in PCIe slot
- Try different display cable (DisplayPort vs HDMI)
- Check monitor input source setting
Problem: High Temperatures
Solutions:
- Verify CPU cooler fan spinning
- Check thermal paste applied correctly
- Remove protective plastic from cooler base
- Improve case airflow (add fans)
- Clean dust filters
- Verify AIO pump running (check cable connection)
Problem: System Unstable/Crashing
Solutions:
- Disable XMP/EXPO temporarily (test RAM at default speed)
- Update BIOS to latest version
- Update GPU drivers
- Check PSU wattage sufficient for components
- Monitor temperatures during crashes
One mistake I see constantly in mini-ITX builds: forgetting to remove protective film from cooler base. That clear plastic prevents thermal paste from contacting CPU, causing instant overheating and thermal shutdowns. Always check—peel any protective film before installing coolers. This single oversight causes 30% of “my new build overheats” support requests.
The Bottom Line: Should You Build Your Own Mini PC?
Building your own mini PC delivers desktop performance in laptop-sized cases, combining portability with upgradeability at costs $200-500 below pre-built equivalents. Modern mini-ITX cases like Lian Li Q58, Fractal Terra, and Cooler Master NR200P accommodate full-size GPUs and powerful cooling, making compact gaming PCs with RTX 5070/5080 or RX 9070 XT performance easily achievable.
The build process follows standard desktop assembly—CPU, RAM, storage, GPU, PSU installation—but requires careful component selection verifying dimensions fit case clearances. SFX power supplies and low-profile or AIO coolers are often necessary, adding $20-50 to costs compared to ATX builds.
Cable management and cooling require extra attention in tight mini-ITX spaces, but with proper planning and quality cases, thermals and aesthetics match full-size builds. First-time mini-ITX builders should expect 3-5 hours assembly time versus 2-3 hours for ATX builds.
For gamers with limited desk space, LAN party enthusiasts, college students, or anyone prioritizing aesthetics alongside performance, DIY mini-ITX builds offer the best combination of power, size, and value. Pre-built mini PCs remain easier but cost more and use inferior mobile components. Traditional ATX towers provide easier building and cooling but occupy 2-3x more space.
Measure components carefully, choose quality cases with good reviews, and take your time during assembly. The result is a powerful gaming PC that fits anywhere while delivering performance rivaling towers twice its size.